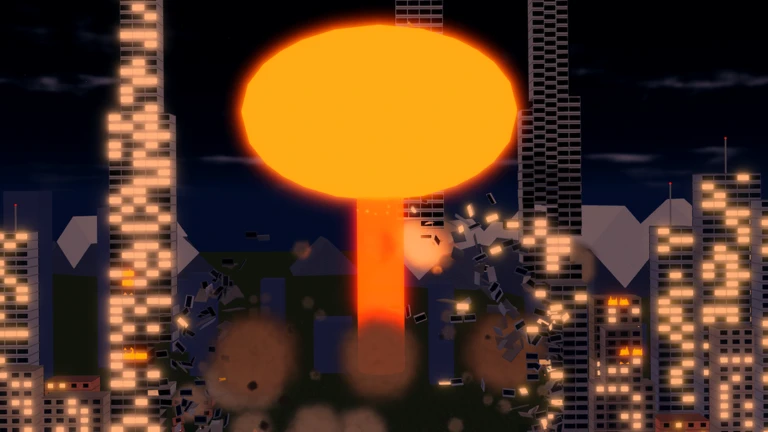
- Smash the City progression runs on a simple loop: destroy structures, earn coins, unlock weapons and maps.
- Destruction milestones at 25%, 50%, 75%, and 95% award bonus rewards each run.
- Area-coverage weapons (Nuke, Tsunami, Black Hole) speed up clearing more than raw single-target damage.
- Dense building routes beat random wandering for consistent coin income.
- Redeem active codes like SMASH early for a free 5,000-coin head start.
How Smash the City Progression Works
Smash the City progression is built around one core loop: you enter a map, destroy buildings with weapons ranging from missiles to black holes, earn coins from each destroyed structure, and spend those coins on stronger weapons and new map unlocks. The game by Kabooom Crew currently offers 50+ weapons across 11 maps, with each unlock raising both your clearing speed and your income per run.
The three progression pillars look like this:
| Pillar | What It Does | How to Advance |
|---|---|---|
| Coins | Main currency earned per destroyed structure | Destroy buildings, hit milestone bonuses, redeem codes |
| Weapons | Tools for destruction, from Missile to Orbital Laser | Unlock through weapon progression using coins |
| Maps | 11 destructible environments with denser targets | Spend progress-earned resources on new unlocks |
Before spending heavily on advanced weapons, spend your first few sessions learning how destruction percentage, coin payouts, and milestone rewards connect. A player who understands the loop out-earns one who only chases big explosions.
Weapon Progression Path
Your weapon roster determines how fast every other part of progression moves. Each tier below matches a stage of the game, and jumping ahead of your current stage usually wastes coins.
| Weapon | Tier | Strengths | Best For |
|---|---|---|---|
| Missile | B | Focused damage, accessible | Early progression, isolated targets |
| Tornado | B | Multi-target sweep, repeatable | Routine farming, crowded areas |
| Tsunami | A | Wide wave coverage | Open lanes, long building lines |
| Meteor | A | High impact damage | Clustered, durable targets |
| Nuke | A | Very high burst, broad zone | Dense urban groups, burst farming |
| Black Hole | S | Massive area pull-and-destroy | Late-game large-scale clearing |
| Orbital Laser | S | Focused high-damage strike | Major structures, priority targets |
Early Game (Missile/Tornado)
- Low cost, reliable clears
- Focus on grouped small buildings
- Build a consistent coin route
Mid Game (Tsunami/Meteor/Nuke)
- Burst-clear building clusters
- Push toward 50-75% destruction milestones
- Reinvest coins into the next weapon tier
Late Game (Black Hole/Laser)
- Full-map clearing potential
- Efficient high-value target finishes
- Fastest repeatable farm cycles
Buying a late-game weapon before you can farm efficiently with mid-tier tools slows your income curve. Compare practical destruction speed—structures destroyed per minute—rather than raw listed damage before upgrading.
Step-by-Step Progression Route
Follow this order to move from a fresh account to efficient late-game farming without wasted spending.
Learn the Destruction Loop
Enter your first map and destroy nearby buildings. Watch how each destroyed structure adds coins and destruction percentage. Start with close targets so you learn movement and aiming without long travel across the map.
Redeem Codes for a Head Start
Check the in-game code redemption interface and enter any active code. The code SMASH currently grants 5,000 coins, which covers your first meaningful weapon upgrade. Codes can expire, so redeem them as soon as you see them.
Build a Dense Farming Route
Create a loop through adjacent building clusters instead of wandering. A fixed route makes coin income predictable and minimizes downtime between attacks. Rotate to a new area only when your current one becomes inefficient.
Push Destruction Milestones
Continue each run until you pass the next milestone—25%, 50%, 75%, or 95% destruction. Milestone payouts add significant value to every run and reward clearing the whole city rather than stopping after a few buildings.
Upgrade and Unlock New Maps
Claim your milestone rewards first, then spend your full balance on the next weapon or map unlock. Move into new areas only when your current weapons can clear them efficiently; otherwise, keep farming to strengthen your loadout.
Always collect milestone and progress rewards before making major purchases. Planning upgrades with your full available balance prevents underspending on a weapon you actually need next.
Destruction Milestones and Rewards
Destruction percentage measures how much of the city you have destroyed in a run. The four major milestones divide a full clear into practical objectives and let you plan routes around reward triggers.
| Milestone | Trigger | Reward | Planning Value |
|---|---|---|---|
| 25% | One quarter of city destroyed | Milestone reward + destruction income | Early target for new players and short sessions |
| 50% | Half of city destroyed | Milestone reward + destruction income | Midpoint check on weapon and route efficiency |
| 75% | Three quarters cleared | Milestone reward + destruction income | Requires a reliable route and stronger weapons |
| 95% | Nearly complete clear | Final major milestone reward | Locate remaining targets and finish the run |
Progression Milestones to Hit:
- Redeem the SMASH code for 5,000 starting coins
- Unlock a mid-tier area weapon (Tsunami or Meteor)
- Reach the 50% destruction milestone in a single run
- Complete a full 95% city clear
- Unlock your first new map beyond the starting city
Milestone rewards are tied to destruction progress within each city run. Repeating efficient full or near-full clears is a core part of long-term coin farming, not a one-time bonus.
Coin Farming Efficiency
Coins drive every unlock, so your income rate matters more than any single explosion. Use this comparison to choose the right farming approach for your stage.
| Method | Efficiency | Best Stage | Notes |
|---|---|---|---|
| Nearby building clears | ★★☆☆☆ | Beginner | Minimal travel, low income ceiling |
| Dense route loops | ★★★☆☆ | Early-Mid | Predictable, repeatable income |
| Burst-weapon cluster farming | ★★★★☆ | Mid | Nuke/Tsunami on grouped buildings |
| Full milestone runs | ★★★★★ | Late | Best coins-per-minute with S-tier weapons |
Run several routes with different weapons, measure your coins per run, and then repeat only the fastest profitable cycle. Upgrade equipment when faster clear speed clearly justifies the cost—not just because a new weapon is available.
FAQ
Q: What is the fastest way to start Smash the City progression?
Redeem any active code (currently SMASH for 5,000 coins), then farm dense building clusters near your spawn with your starter weapon. Build a compact loop route and push toward the 25% destruction milestone before spending on upgrades.
Q: Which weapon should I unlock first?
Prioritize area-coverage weapons over single-target options. Tornado or Tsunami clear grouped buildings far faster than the Missile, which raises your coin income and accelerates every later unlock.
Q: Do destruction milestones reset?
Yes. Milestone rewards at 25%, 50%, 75%, and 95% are tied to destruction progress within each city run, so repeating efficient near-full clears is a core long-term farming strategy.
Q: How many weapons and maps are in the game?
The Kabooom Crew version of Smash the City currently features 50+ weapons and 11 destructible maps, and the roster grows with event-based updates. Check the official Roblox game page for the latest additions.
Smash the City receives event-based updates that can add weapons, maps, and limited-time rewards. Follow the official Roblox game page and the Kabooom Crew community for current information.