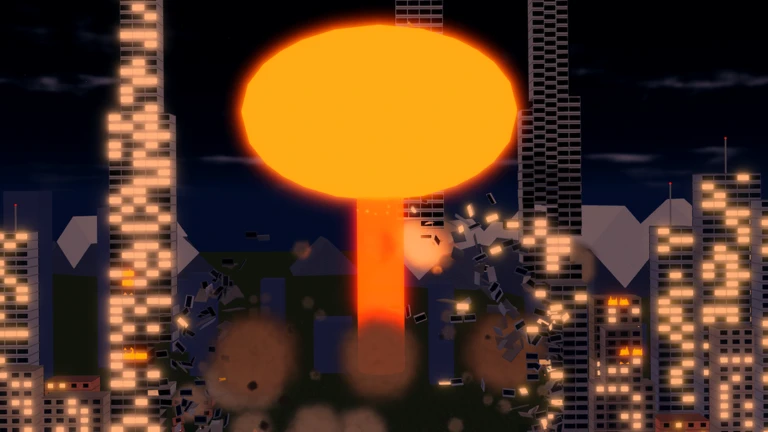
- Smash the City tornado is a Weather-class weapon that sweeps through areas and damages multiple targets at once.
- Best use: repeated farming in crowded areas with grouped buildings.
- Tier rating: B-tier, a reliable progression weapon rather than a late-game nuke.
- Key upgrade path: extend storm duration and area size to boost coin income.
- Pair it with dense building routes for the most efficient clearing loops.
How the Tornado Works
The tornado is one of the mid-tier weapons in the Smash the City arsenal developed by Kabooom Crew. Instead of a single focused hit like a missile, it spawns a rotating storm that moves through an area and damages every destructible object it touches.
This makes it a fundamentally different tool from burst weapons such as the nuke or meteor:
- Continuous damage: the storm keeps working while you reposition or aim elsewhere.
- Multi-target coverage: one tornado can sweep several buildings in a single pass.
- Flexible placement: works well in open city blocks where targets sit close together.
- Low micro-management: you do not need precise aim on every structure.
In the weapon tier list, the tornado sits in B-tier alongside the missile. It is not the strongest option for pure destruction scale, but it is one of the most practical choices for routine farming while you save coins toward nukes, black holes, or the orbital laser.
The tornado rewards dense target placement, not pinpoint accuracy. Drop it where buildings cluster, then let the storm do the work while you plan your next move.
Tornado vs Other Weapons
Every weapon in Smash the City fills a different role. The tornado trades raw burst damage for sustained, wide-area pressure.
Tornado
- Multi-target sweep
- Sustained damage over time
- Best for routine farming loops
Nuke
- High burst damage
- One-shot wide explosion
- Best for dense clusters and fast clears
Missile
- Focused single-target hit
- Cheap and accessible
- Best for early progression
Quick comparisons for planning your runs:
- Versus meteor: the meteor hits harder on impact but covers one zone; the tornado keeps moving and racks up progress across a lane.
- Versus tsunami: both are sweep-style weapons. The tsunami covers long straight lanes, while the tornado is better in blocky, crowded areas.
- Versus black hole: the black hole is the late-game upgrade path for large-scale clearing. Use the tornado to farm coins until you can unlock it.
If a single tornado pass no longer pushes your destruction percentage toward the 50% and 75% milestones efficiently, it is time to invest in a higher-tier weapon.
Step-by-Step Tornado Strategy
Follow this loop to turn the tornado into a steady coin engine.
Pick a Dense Map Area
Start in a section where several buildings sit close together. Open city blocks and crowded districts give the tornado the most targets per spawn.
Drop the Tornado on the Cluster
Place the storm at the edge of the building group so it travels through the maximum number of structures before dissipating.
Follow the Storm
Move alongside the tornado and watch for structures it skips. Clean up stragglers with quick attacks so nothing is wasted.
Push Toward Milestones
Keep clearing until you hit the 25%, 50%, or 75% destruction milestones for bonus rewards before starting a new run.
Upgrade and Repeat
Spend coins on storm duration and area upgrades, then repeat the fastest loop you found.
Compare weapons by how fast they raise your destruction percentage, not by their listed damage number. Practical clear speed wins farming runs.
Upgrades and Milestone Goals
Upgrade spending shapes how quickly the tornado scales. Prioritize coverage and duration before anything else:
- Storm duration: longer storms mean more buildings hit per cast.
- Area size: a wider storm catches targets you would otherwise miss.
- Damage scaling: raises the value of every second the storm stays active.
- Reduced cooldown: more frequent casts keep a farming loop moving.
Destruction milestones divide a full city run into clear objectives, and each one pays out rewards that speed up your next upgrade:
- 25%: practical early target for short sessions.
- 50%: checkpoint to judge whether your route and weapon are efficient.
- 75%: requires a reliable loop and solid damage output.
- 95%: final major milestone before a complete clear.
Tornado Progression Goals:
- Unlock the tornado through weapon progression
- Max storm duration upgrade first
- Reach the 50% destruction milestone in a single run
- Save toward a nuke or black hole
- Complete a full city clear once per session
Do not rush into expensive late-game weapons before your coin route is stable. A well-upgraded tornado farming dense blocks often outearns an underfunded nuke.
Tornado FAQ
Q: Is the tornado a good weapon in Smash the City?
Yes, for its tier. The tornado is a B-tier weapon that excels at routine farming and clearing groups of buildings in crowded areas. It is not a late-game powerhouse like the black hole, but it provides steady, efficient destruction while you save coins for stronger weapons.
Q: Which maps work best for tornado farming?
Dense urban areas with clustered buildings are ideal. The tornado sweeps multiple targets per pass, so open maps with scattered, isolated structures reduce its value compared to focused weapons like missiles or the orbital laser.
Q: What upgrades should I buy first for the tornado?
Prioritize storm duration and area size. Longer, wider storms hit more buildings per cast, which directly increases your destruction percentage and coin income per run.
Q: How does the tornado compare to the tsunami?
Both are sweeping weapons. The tsunami travels in broad straight lanes, making it strong along long lines of buildings, while the tornado is more flexible in blocky, crowded city sections where targets surround the spawn point.
Smash the City receives event-based updates that can adjust weapon balance and add new maps. Check the official Roblox game page for the latest changes before planning long farming sessions.